Self-Hosted Password Manager with Dokku
Details the process of setting up a self-hosted password manager using Dokku and Vaultwarden.
Why?
I relied on 1Password for the last few years, it is robust, and very user-friendly. However, these types of services are prime targets for attacks, one popular example is the Lastpass case. It is definitely not cool to have your sensitive info spread in another data breach. Also, privacy is precious nowadays, whoever has the data, has the power.
While exploring Open Source alternatives, I found vaultwarden, an unofficial Bitwarden-compatible server written in Rust.
Migrating data manually is a tedious process, so I first checked how it would be like with Bitwarden. Surprise, surprise, they have it all! You don’t have to do it by hand, it already supports the most popular password managers.
Web - Import Data Page
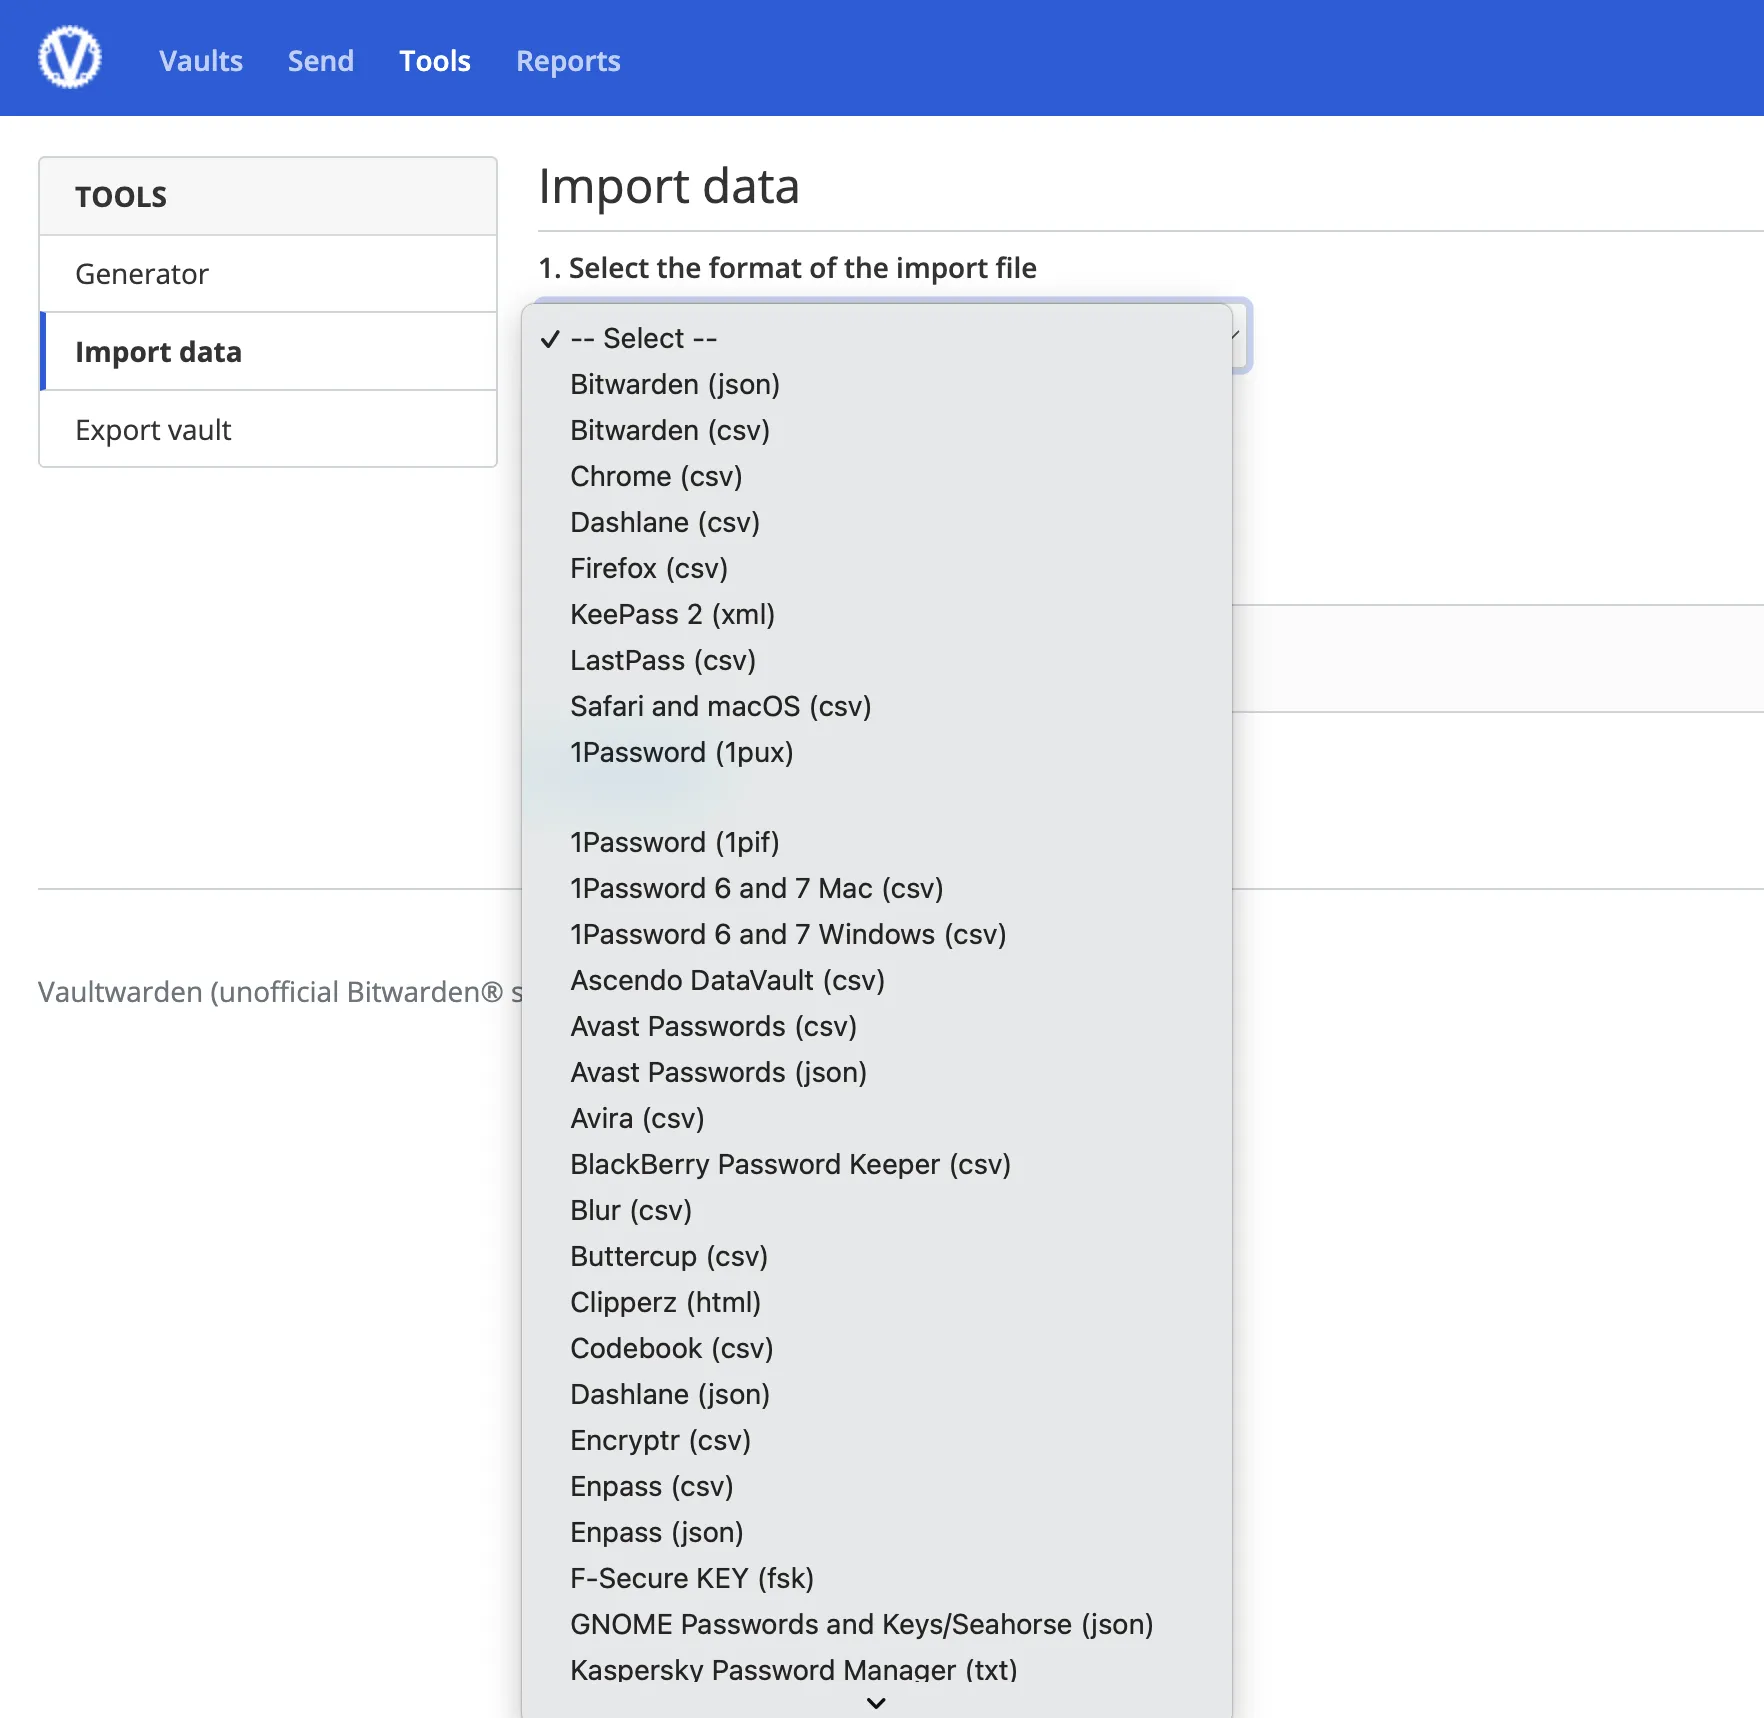
PS: It was a relief to discover a well-done user interface, here’s a spoiler:
macOS app

To make it cost effective, I decided to use my current Dokku setup, hosted on Google Cloud and powered by Ubuntu 20.04. If you haven’t heard of Dokku, this is your chance to try it out https://dokku.com/docs/getting-started/installation/.
So, having in mind the advantages and the infra required, here’s how I did it.
Prerequisites
Before we get started, check that you already have the following:
- A server with Dokku installed.
- A domain name (letsencrypt will check it).
- Local machine with Docker, Git and any SSH client.
Step by Step
1. Create Dokku App
Set your app name and link to the domain (the Dokku Proxy plugin is built in since version 0.5.0)
dokku apps:create bitwarden
# example: dokku domains:set bitwarden mypasswords.sjdonado.dedokku domains:set bitwarden yourdomain.com
2. Set up TLS certificates
The Let’s Encrypt plugin automates the generation and renewal of our certificates
# plugin installation requires root, hence the user changesudo dokku plugin:install https://github.com/dokku/dokku-letsencrypt.git
dokku letsencrypt:enable bitwarden# enable the automatic renewal of certificatesdokku letsencrypt:cron-job --add
# replace proxy port, default: 5000dokku config:set bitwarden DOKKU_PROXY_PORT_MAP="http:80:80 https:443:80"
3. Set up database
We’ll use the PostgreSQL plugin
# setup pluginsudo dokku plugin:install https://github.com/dokku/dokku-postgres.git
# create a new database for our appdokku postgres:create bitwarden
# link the postgres service to the app, DATABASE_URL will be attached to the ENV variables automatically.dokku postgres:link bitwarden bitwarden
4. Set up persistent storage
We can use the built-in Dokku storage plugin
dokku storage:ensure-directory bitwarden
dokku storage:mount bitwarden /var/lib/dokku/data/storage/bitwarden:/data
5. Set up ENV variables
By default, Bitwarden is open to public signups, although we can restrict it to invitation-only by setting SIGNUPS_ALLOWED to false and providing a valid ADMIN_TOKEN.
We’re gonna use argon2 to generate a PHC string for the ADMIN_TOKEN ENV variable
# skip this line if you are a linux userdocker run --rm -it ubuntu
$ apt update && apt install openssl argon2$ echo -n "MySecretPassword" | argon2 "$(openssl rand -base64 32)" -e -id -k 65540 -t 3 -p 4# output: $argon2id$v=19$m=65540,t=3,p=4$bXBGMENBZUVzT3VUSFErTzQzK25Jck1BN2Z0amFuWjdSdVlIQVZqYzAzYz0$T9m73OdD2mz9+aJKLuOAdbvoARdaKxtOZ+jZcSL9/N0
For the SMTP_ variables, feel free to use your own SMTP server or comercial solutions with free-tier such as sendgrid
dokku config:set bitwarden \ DOMAIN=https://mypasswords.sjdonado.de \ SIGNUPS_ALLOWED=false \ ADMIN_TOKEN='$argon2id...' \ SMTP_HOST=smtp.sjdonado.de \ SMTP_PORT=587 \ SMTP_SECURITY=starttls \ SMTP_USERNAME= \ SMTP_PASSWORD=6. Create the Dockerfile
Let’s create a new folder for the project, the Dockerfile and initialise git
mkdir yourfolder && cd yourfoldergit inittouch Dockerfileyourfolder/Dockerfile
FROM vaultwarden/server:latest
EXPOSE 80
ENV DB=postgresql
7. Deploy
We are almost there! Before to push the changes, we have to set the dokku remote url
And finally
git add -A && git commit -m "My bitwarden Dockerfile"git push dokku master
# output:git push using:  dokku masterEnumerating objects: 6, done.Counting objects: 100% (6/6), done.Delta compression using up to 8 threadsCompressing objects: 100% (3/3), done.Writing objects: 100% (6/6), 551 bytes | 551.00 KiB/s, done.Total 6 (delta 0), reused 0 (delta 0), pack-reused 0-----> Cleaning up...-----> Building bitwarden from Dockerfileremote: #1 [internal] load build definition from Dockerfileremote: #1 transferring dockerfile: 65B doneremote: #1 DONE 0.0sremote:remote: #2 [internal] load .dockerignoreremote: #2 transferring context: 2B doneremote: #2 DONE 0.1s...
8. That’s it
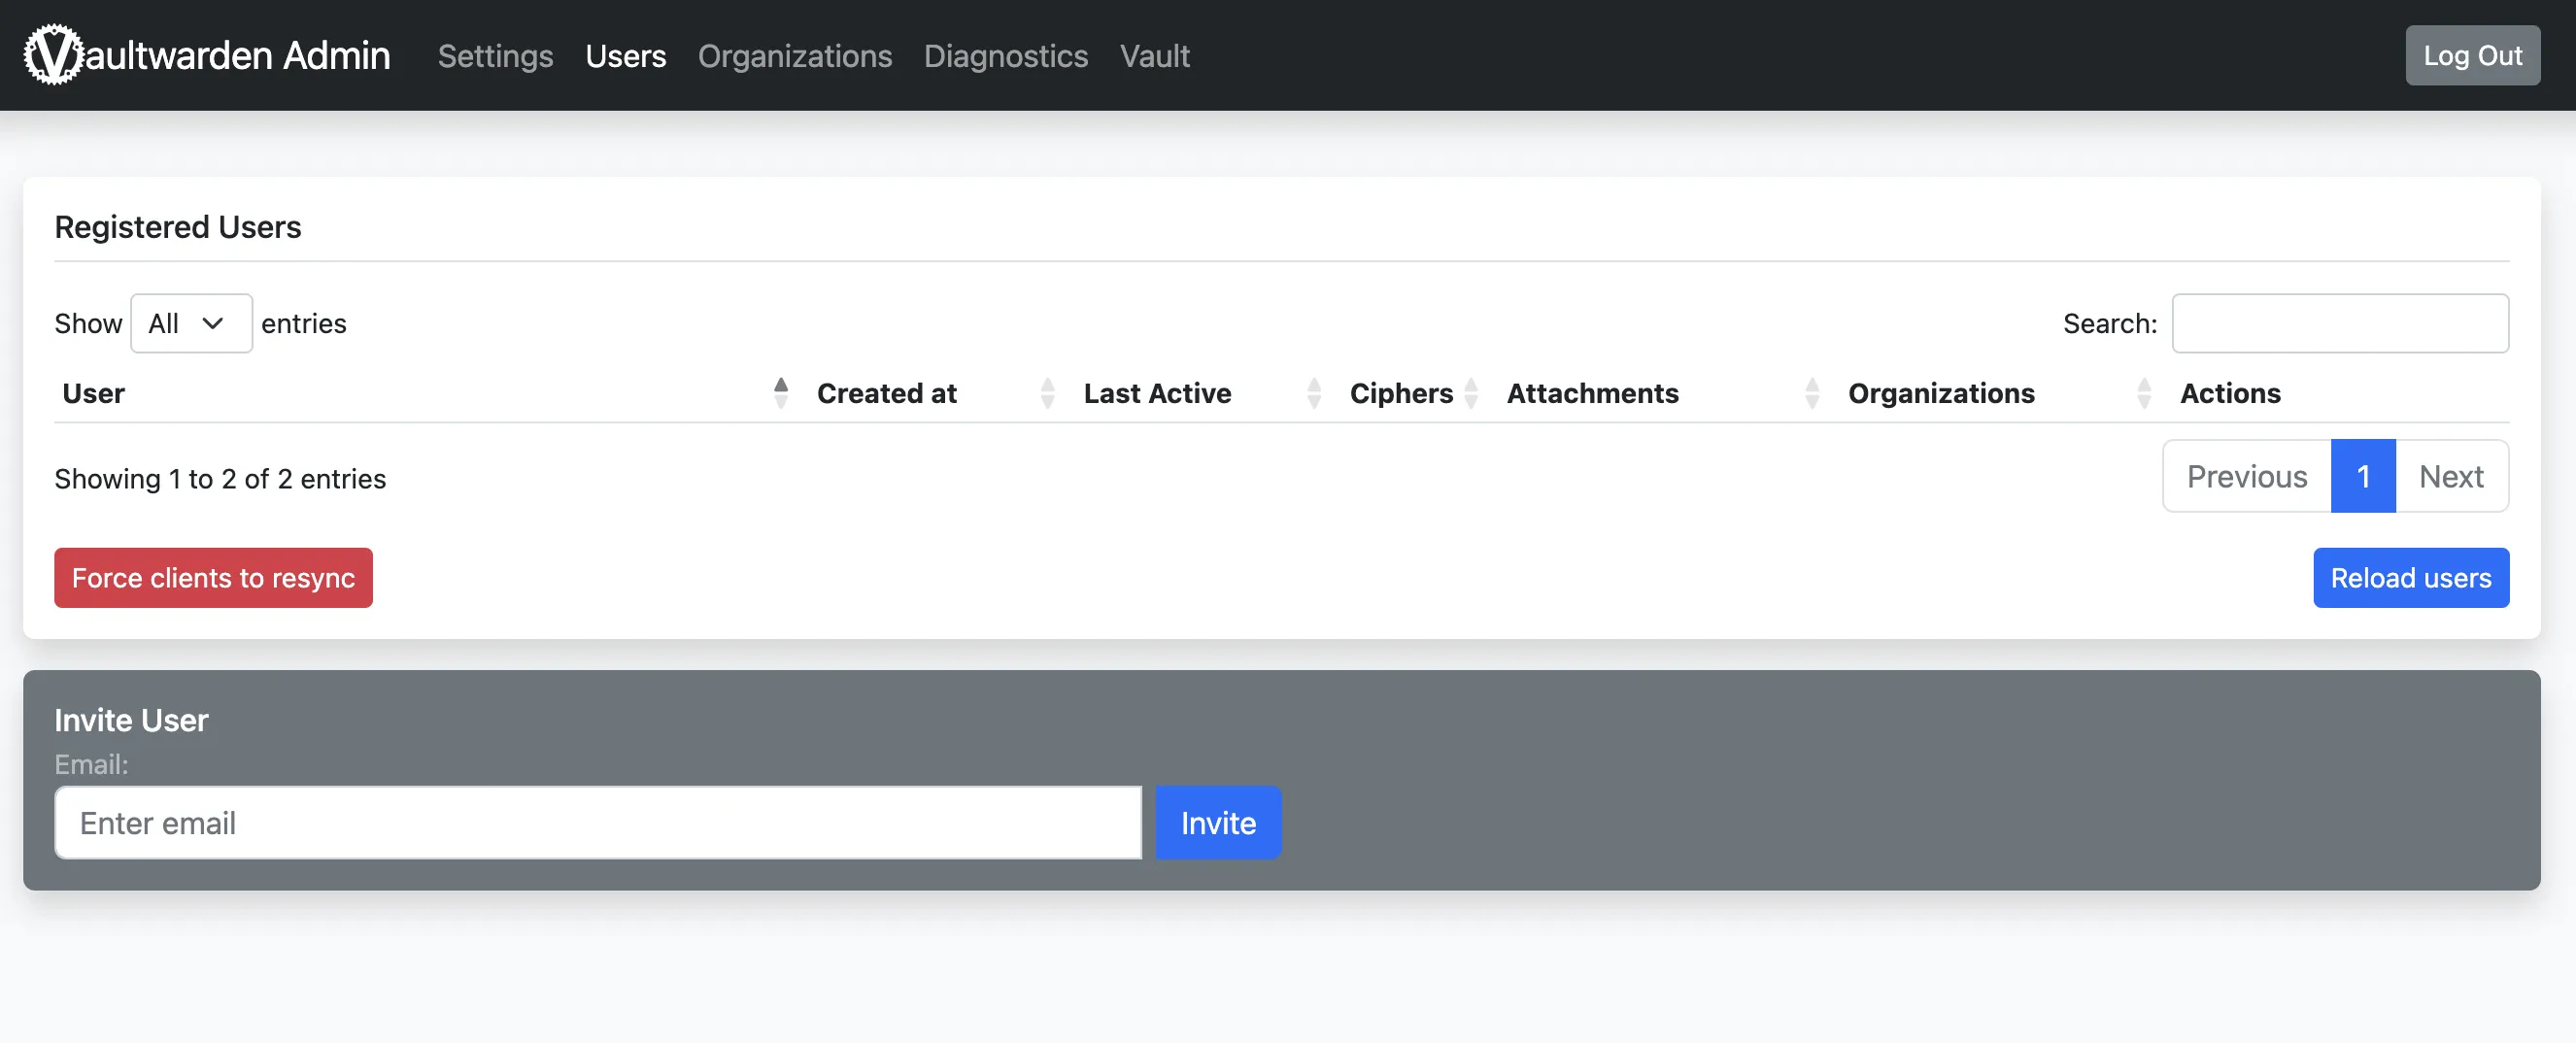
Now you can access the admin panel via https://yourdomain.com/admin with your MySecretPassword (from step 5) and send invitations by email 😎.
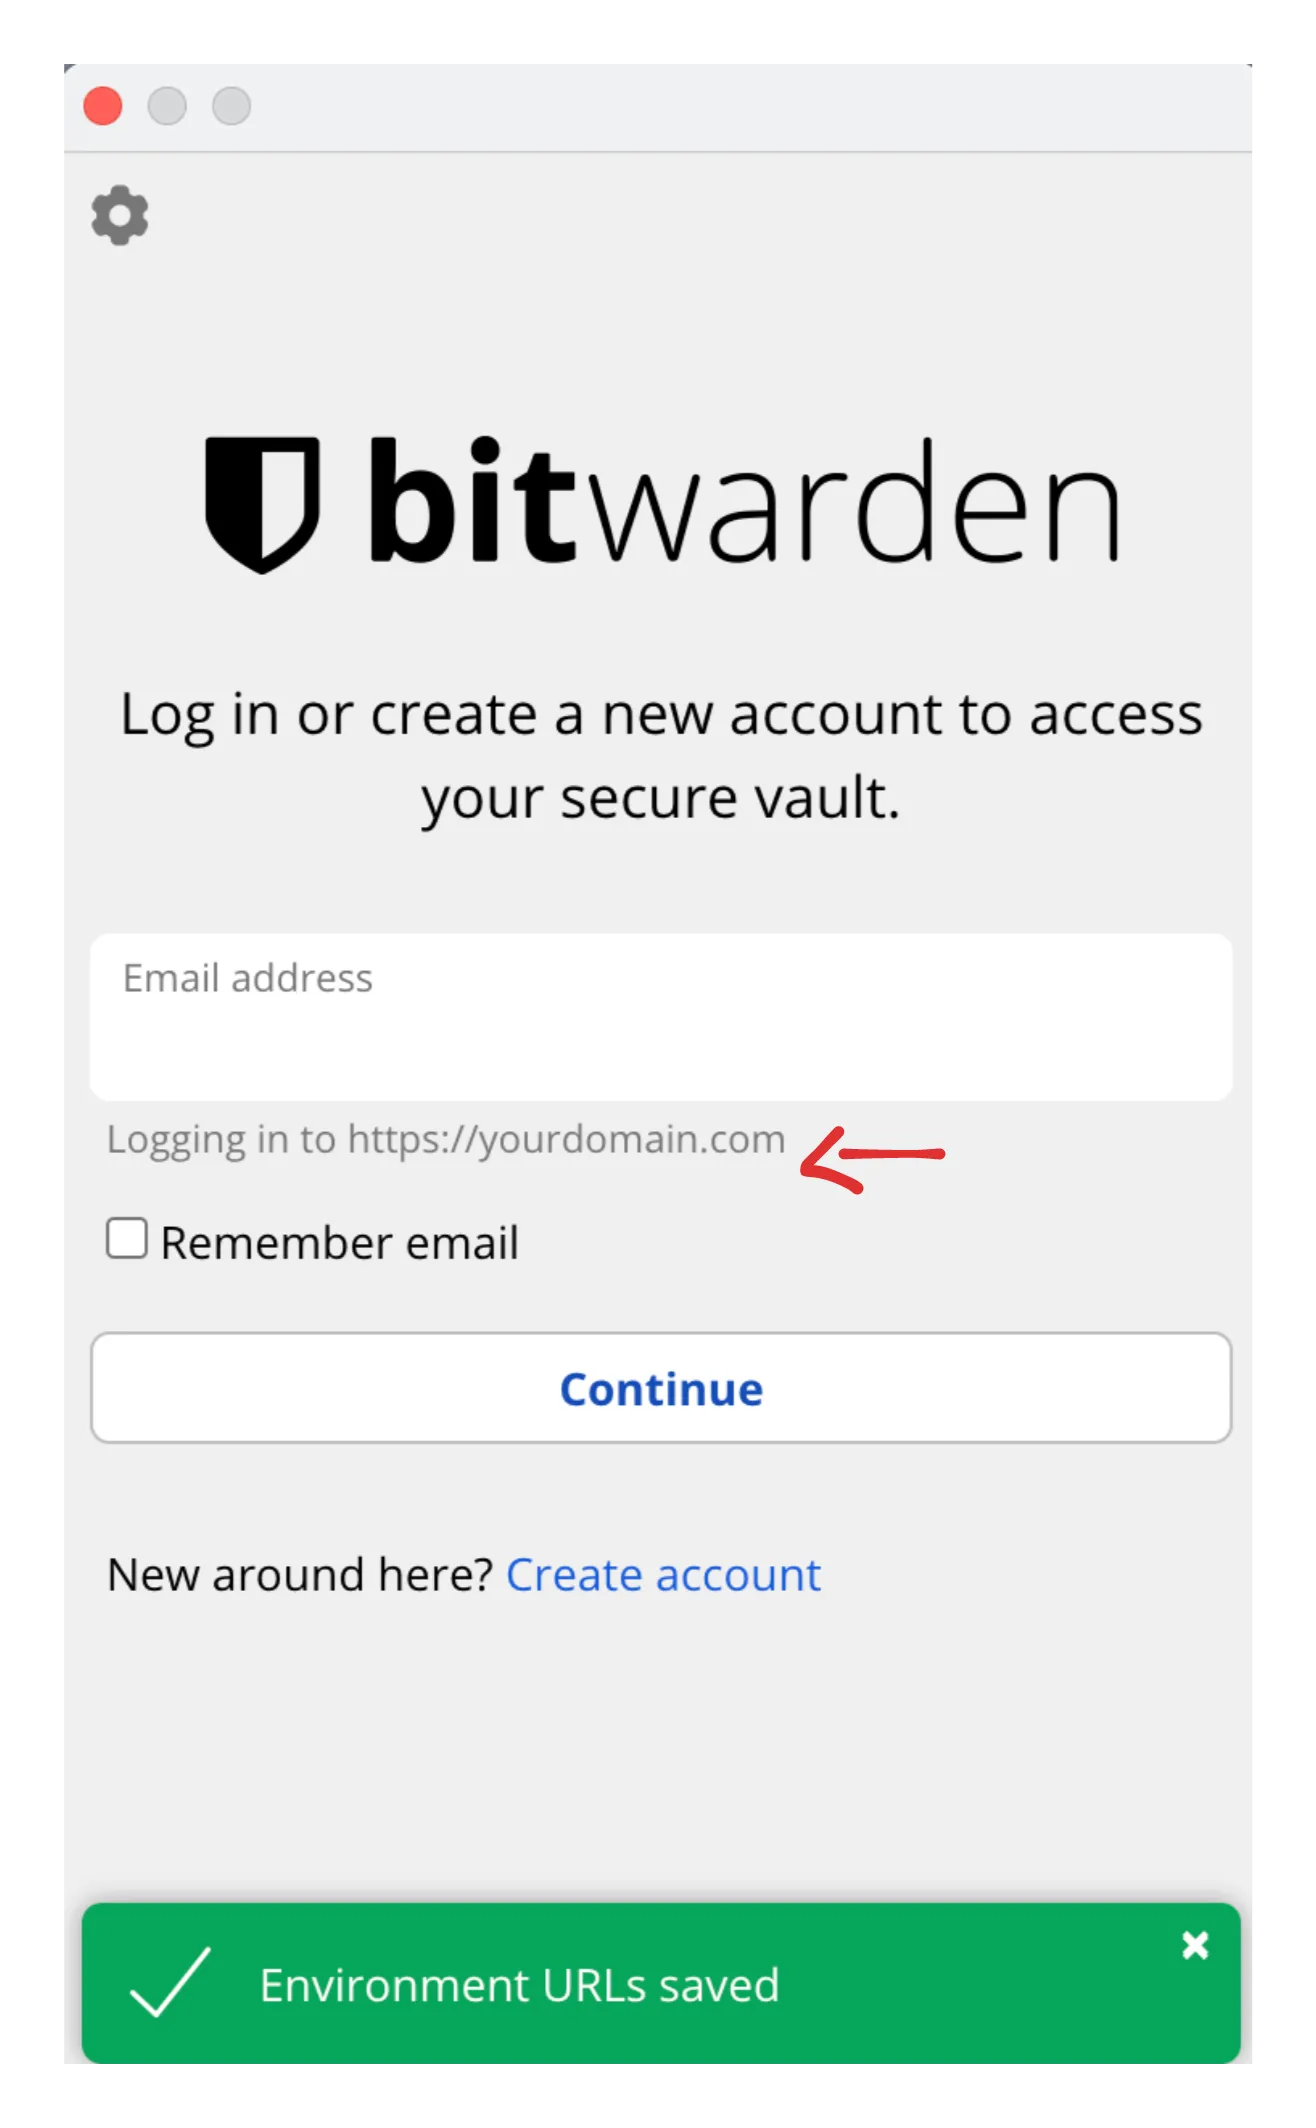
NOTE: Be sure to add your domain when installing the official Bitwarden apps/extensions.
Chrome Extension
Wrapping up
We’ve explored the process of setting up a self-hosted password manager using Dokku. This can be easily replicated on any IaaS provider.
Now, you can have peace of mind knowing that your passwords are securely stored and easily accessible whenever and wherever you need them.
Source code available on Github.
Happy hacking!